Building a Local AI Server
May 25, 2026
In recent years, AI has become increasingly accessible through cloud-based services like Gemini and LLaMA. However, these services come with limitations, including high costs (up to $100+ per month). I set out to create my own local AI server for several reasons: affordability, curiosity about coding with AI, a desire to utilize spare computer hardware, and concerns about data privacy. In this article, I'll chronicle my journey from setting up the hardware to exploring applications, comparing its capabilities to cloud models, and researching cost-effectiveness. My goal is to share my experiences and insights to help others considering a similar path.
Hardware Overview
I had some extra parts laying around after rebuilding my gaming desktop. Those parts included a Ryzen 1800x CPU, 16gb of DDR4 2666 RAM, an ASRock B350 motherboard, and a Radeon RX580 with 8gb VRAM. After some initial research, I learned that the RX580 was right out due to the VRAM capacity.
Because my gaming desktop did not get much use, and being determined to try this out, I decided to try converting that into the AI machine. I ultimately did not stick with it, but research showed that the specs it had would work perfectly for running an AI machine.
- Ryzen 7600 CPU
- 32gb DDR5 RAM
- Radeon RX 9060XT with 16gb VRAM
- MSI B650 gaming motherboard
- 1tb NVMe SSD
This is what I used for the initial run, but ultimately did not keep that for two reasons. That system has a ton of RGB lighting and this rig would be running 24/7, which meant the lights would constantly be on. The second reason was, even if I do not use it frequently, I still want a good gaming desktop for those times when I do want to use it; my gaming laptop has an Nvidia 4060 mobile GPU with 8gb VRAM, so I know there will be some games moving forward that it struggles with.
Ultimately, I opted to purchase a few upgrades on the cheap, and build a separate tower. This meant a new GPU, CPU, RAM, and SSD. My final spec sheet for the tower is:
- Ryzen 5700x CPU — $180
- Silicon Power 32gb DDR4 3200 RAM — $212
- Intel ARC B580 with 12gb VRAM — $275
- KingSpec 1tb gen3 NVMe SSD — $163
- the ASRock B350 gaming motherboard
I am using a cheap Thermaltake case with 3 120mm beQuiet fans in the front, one thermaltake exhaust fan, and replaced the CPU fan on the heatsink with another 120mm beQuiet fan. The system is very quiet, and from what I can tell, runs very cool. I do not notice much difference in the slightly lower VRAM with the models that I am running, and perhaps it is more in the available tokens for the context window. Total cost, not including parts I have just lying around, about $880.
Setting Up the Server
While many tech blogs default to Ubuntu 24.04 for AI workloads, this build opted for the cutting-edge Ubuntu 26.04 LTS.
- The Reason: The Intel Arc B580 is a brand-new architecture. Older Linux kernels lack the structural framework to talk to it natively.
- The Advantage: Moving to Ubuntu 26.04 unlocked the Linux 7.0+ kernel, which ships with the updated, native xe kernel driver architecture—critical for stable Intel compute tasks.
The first major obstacle wasn’t software; it was a physical limitation at the motherboard level. I had to go through a series of BIOS updates to even allow for the CPU to function with the motherboard. After that, I had to make changes that would allow the motherboard to function with the newer Intel ARC B580. A persistent warning appeared: WARNING: Resizable BAR not detected.
Without Resizable BAR (Base Address Register) enabled, the Linux system is restricted to a tiny 256MB "window" to communicate with the GPU, forcing an advanced 12GB card to choke trying to load massive AI tensors.
- The Mystery: The BIOS explicitly showed Re-Size BAR and Above 4G Decoding as "Enabled," yet the kernel could not see it on reboot, causing Ollama to throw 500 Internal Server Errors and time out for over 90 seconds.
- The Culprit: A dying CR2032 CMOS battery on the older B350 motherboard. Every time the system rebooted, the motherboard lost its volatile memory registers and silently reverted to "Safe Defaults." These defaults re-enabled the legacy Compatibility Support Module (CSM), which automatically overrides and kills Resizable BAR.
Once I got everything out of the way, then all I needed to do was install the operating system, and I was golden. Ubuntu 26.04 LTS was a good choice because of its hardware support.
1. Core System & Group Permissions Setup
Before installing the software, we ensured your user account had the hardware permissions required to communicate with the Intel Graphics compute engine without requiring root privileges.
# Add your user to the system groups required for GPU compute access
sudo usermod -aG render,video $USER
# Note: A system logout/login or reboot is required after running this
2. Docker Engine Installation
To pull down containerized applications for the environment, the official Docker convenience installation pipeline was deployed:
# Download and execute the official Docker automated installation script
curl -fsSL https://get.docker.com -o get-docker.sh
sudo sh get-docker.sh
# Verify that the Docker daemon is fully operational and enabled on boot
sudo systemctl status docker
3. Ollama Installation & Intel Arc Workaround
Because Ubuntu 26.04 is on a cutting-edge Linux 7.0 kernel, standard installation scripts fallback to CPU-only because they don't explicitly recognize the fresh OS name. We used the hardware override flag to force the installation of the specialized parallel compute layers:
# Force the installation architecture to bundle the Intel compute runners
curl -fsSL https://ollama.com/install.sh | OLLAMA_INTEL_GPU=1 sh
# Verify that the compute runtime can identify the Battlemage card's processing layers
sudo apt update && sudo apt install -y clinfo
clinfo | grep "Device Name"
4. Network & Driver Service Overrides
To allow foreign applications (like REINS) to stream data from the server, and to make sure the Intel Arc card handles inference stably without freezing, we edited the systemd service file:
# Open the service configuration editor
sudo systemctl edit ollama.service
Inside the blank canvas area generated by systemd, the following environment block was declared:
[Service]
Environment="OLLAMA_HOST=0.0.0.0:11434"
Environment="OLLAMA_INTEL_GPU=1"
Environment="OLLAMA_VULKAN=1"
Environment="OLLAMA_NUM_PARALLEL=1"
Environment="OLLAMA_KEEP_ALIVE=-1"
Environment="OLLAMA_REQUEST_TIMEOUT=5m"
Environment="GGML_VK_VISIBLE_DEVICES=0"
After closing the editor, the tracking configuration was completely refreshed and enabled to survive machine power losses:
# Reload systemd configuration changes
sudo systemctl daemon-reload

# Enable the service to automatically spin up at boot time
sudo systemctl enable ollama

# Restart the service to apply the networking and driver variables
sudo systemctl restart ollama
5. Model Deployments
With the hardware layer properly reallocated (thanks to fixing the BIOS/CMOS battery issue), these explicit commands pull down the target model files:
# Deploy the reasoning model (Optimized for the 12GB VRAM headroom)
ollama pull deepseek-r1:14b

# Deploy the general conversation engine
ollama pull llama3.3:8b-q8_0

# Deploy the code generation matrix (Qwen 3 MoE Series)
ollama pull qwen3-coder-flash:q4_K_M

# Alternative dense deployment for pure VRAM speed
ollama pull qwen3-coder:14b-instruct-q4_K_M
6. Real-Time Diagnostics (Headless Utility)
To check what the server is doing over SSH while managing tasks remotely:
# View live diagnostic engine output streams
journalctl -u ollama -f

# Verify what model is actively loaded into the B580 memory architecture
ollama ps
The actual setting up of the server was not difficult, with the help of a web based AI model like ChatGPT or Gemini. I was easily able to chat my way through any issues, place alerts into the AI and get answers.
Running Local Models
The next task was accessing the local models. I used a couple of methods to get access on my other machines. Reins is a simple tool that easily connects to the local models and is available on both Mac and Linux. I quickly pointed the application to my local server's IP address and immediately was in business.
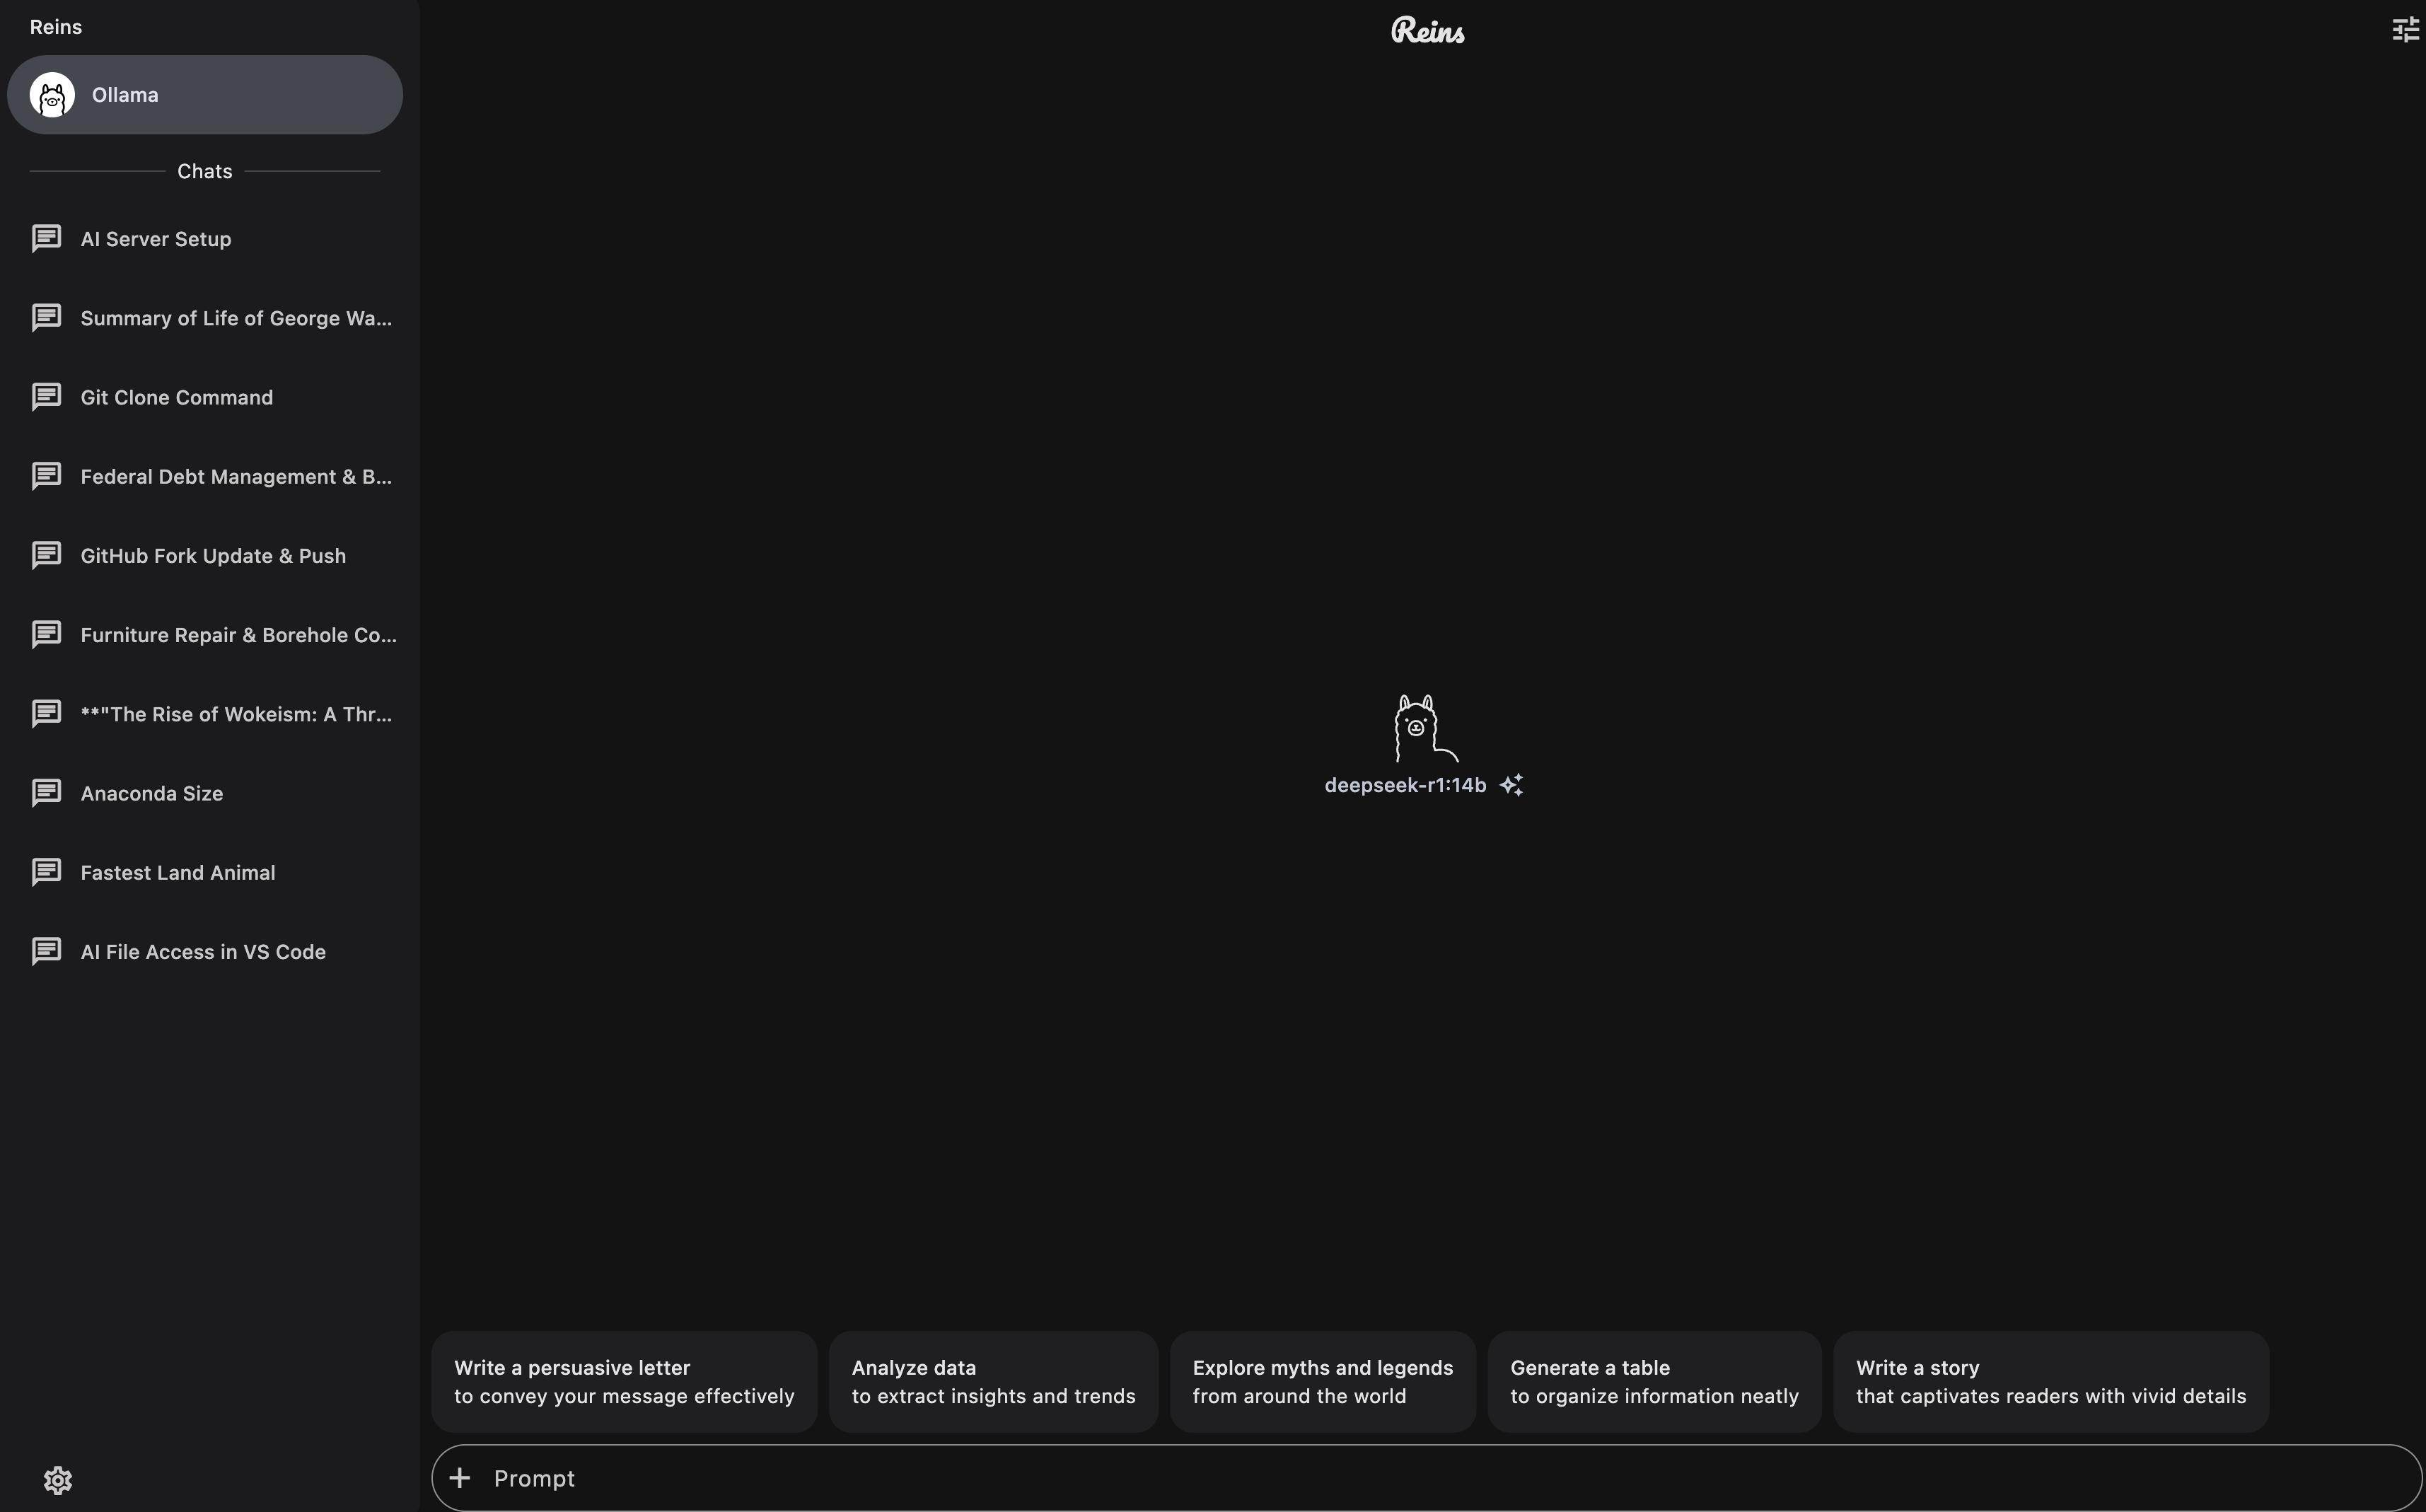
One drawback in Reins is copying and pasting large amounts of text the AI returns does not work. I can get one paragraph at a time. That is why I recently switched to Msty, which is free for personal use and allows me to grab larger amounts of text at a time. The configuring of local models is a little more involved, but still not difficult.
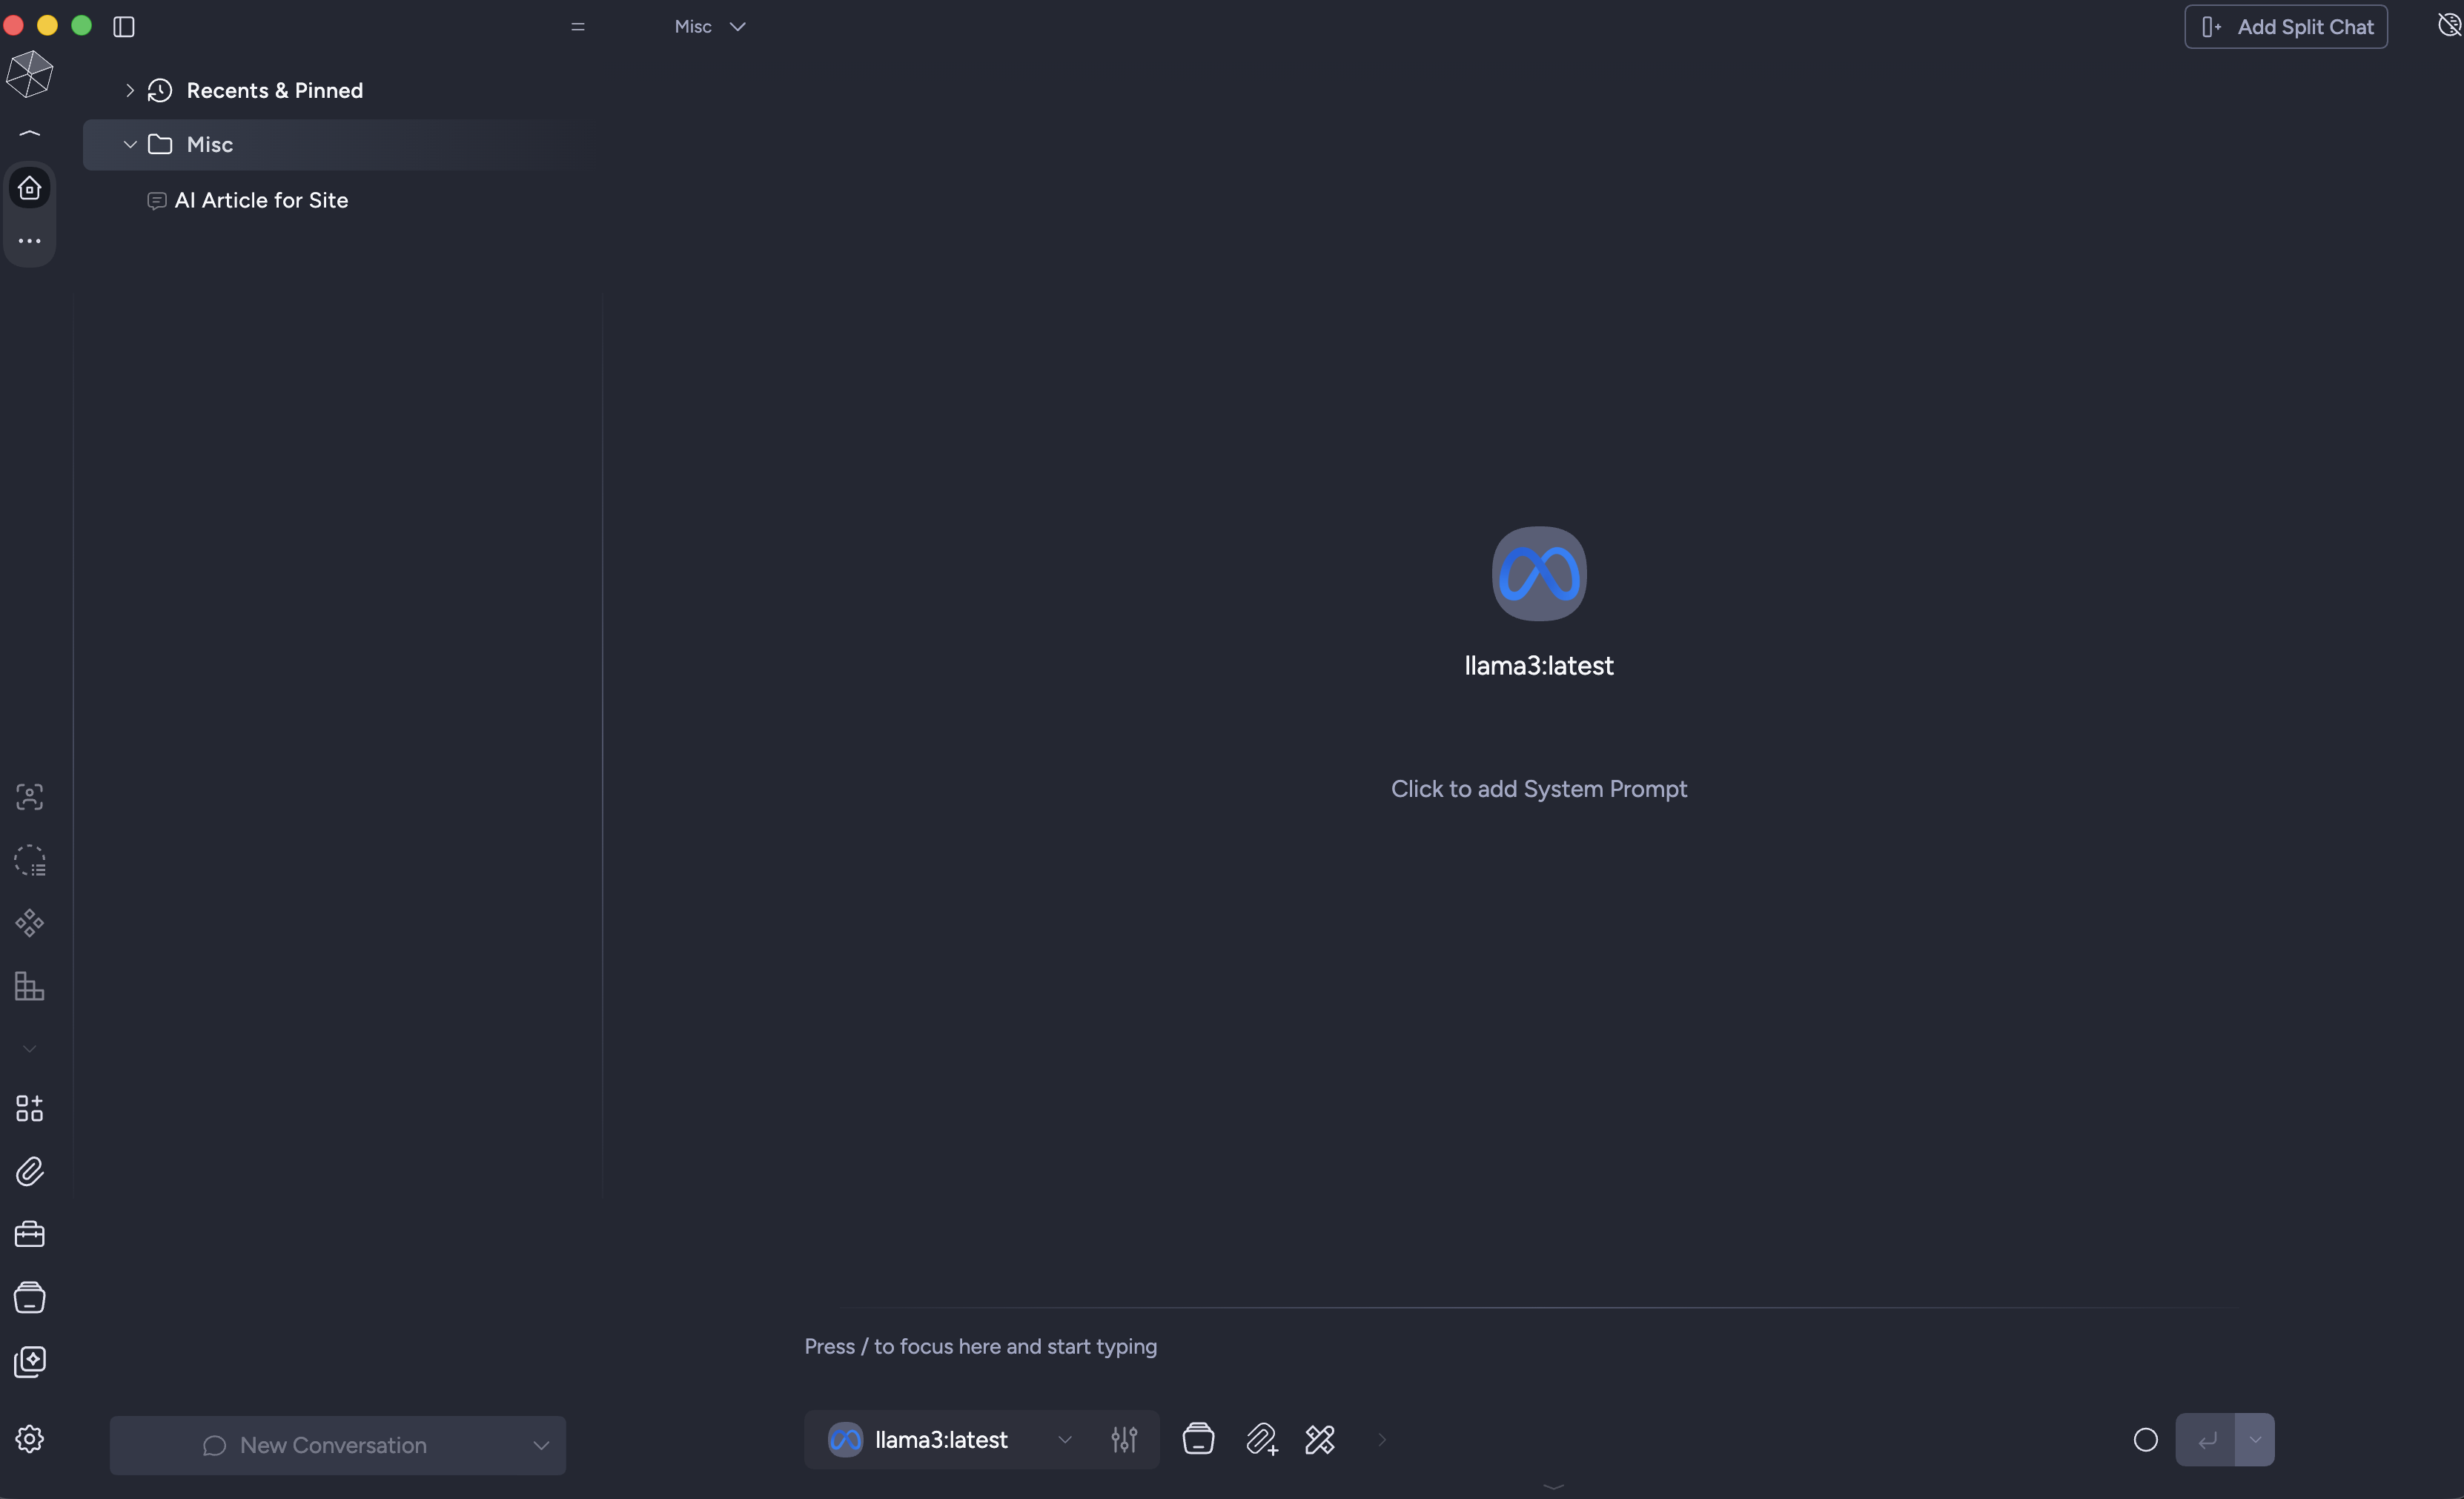
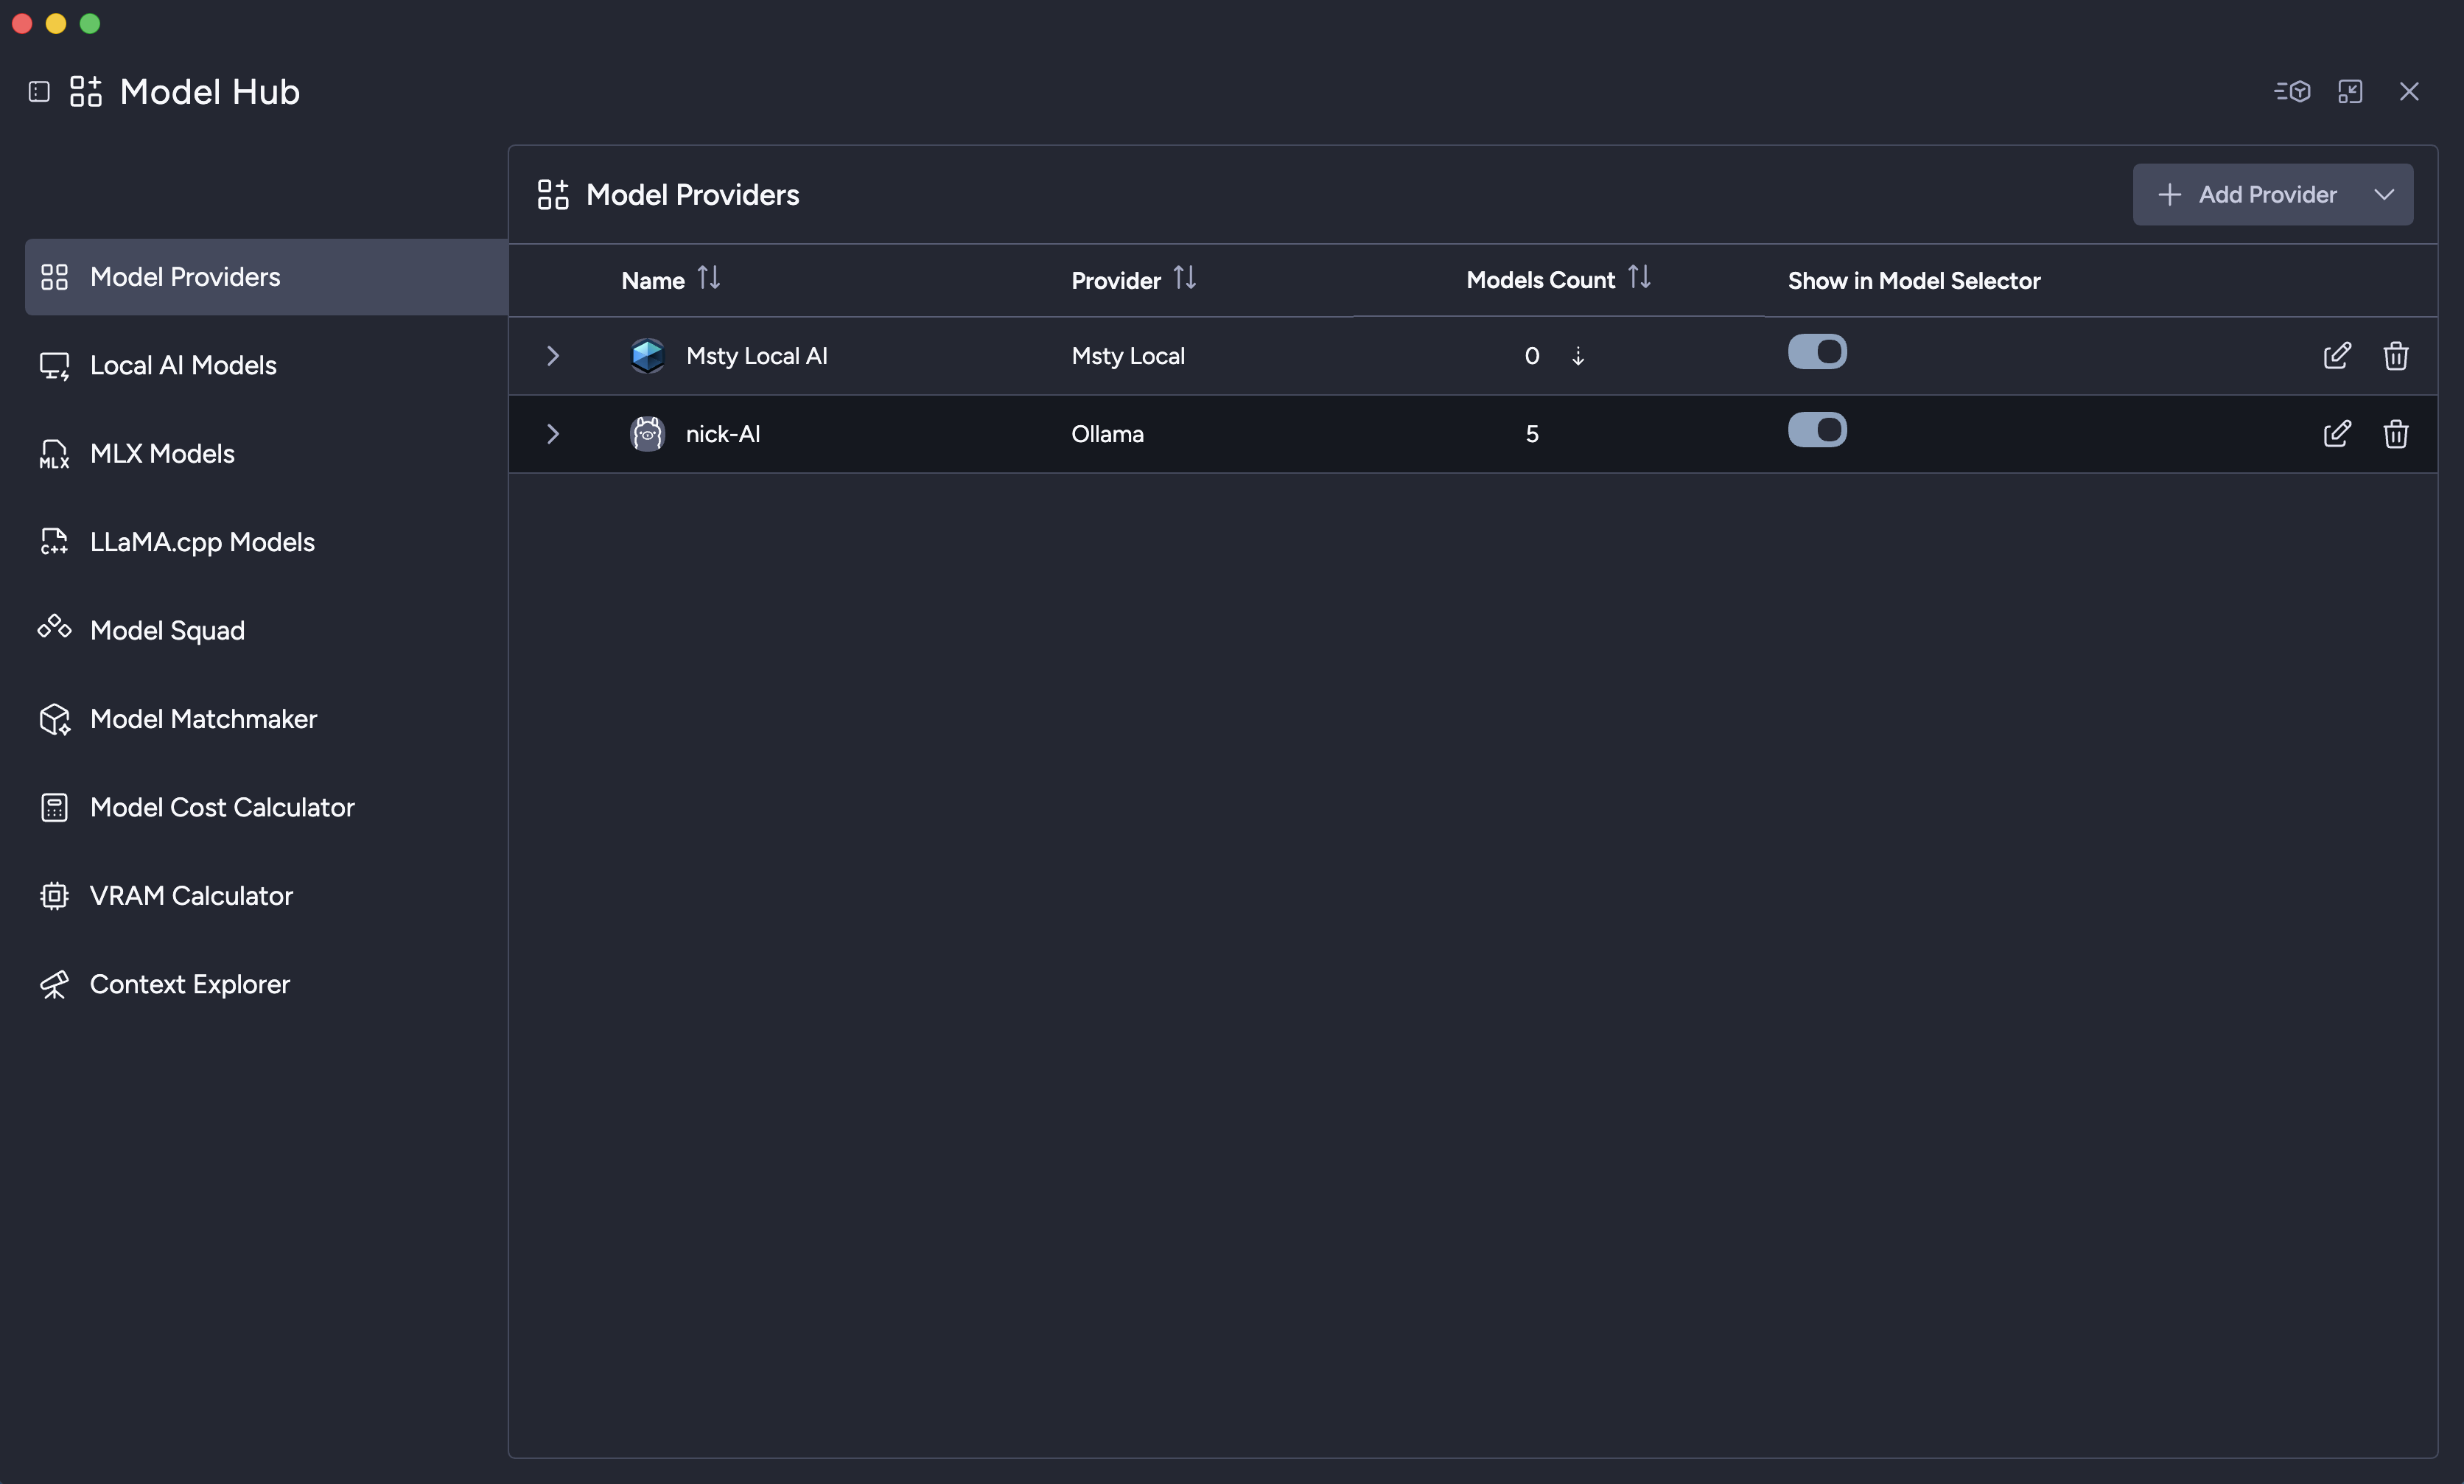
I am using open source models like Llama and Deepseek for things like re-writing notes into an overall summary and research questions. I also installed coding models, which I have linked up to VSCode and VSCodium; I will cover that a little more in the next section.
From a performance perspective, the 7b and 8b models are really quick. The respond quickly and are useful. The 14b models is where I can really feel the limitations of the system. An initial question using one of those models takes a while for a response to come in as the system is loading the entire model into the VRAM. Once loaded, the responses are faster, but significantly slower than the 7-8b models. Slower to the point where I make the request and then switch to another task while the AI is responding. I often find the responses better, but it just takes longer.
There is one downside with the chat models, they have a date limitation on how current their knowledge is, and out of the box do not have internet access. That means, if I am doing any research where I want the most recent data, or want a model that can check the internet for information and sources, I still need to use a cloud based model. I still find myself going to cloud models because even some of the hardware I am using to run the AI is too new for the AI models I am running to know anything about.
Using Local Models For Coding
In short, it is hard to justify using a local model for this. And it is not because the local models are not good, but when compared to something like Cursor, it is just too limited. But let me explain how I am using it first.
Within VSCode, I have tried both Continue.dev, and then asked Cursor to build an extension to mirror Cursor abilities, and ran into a brick wall. What something like Continue.dev allows the models to do is update code when specified within a specific file or couple of files. When using a qwen2.5:coder 7b model, this works well to update some html and CSS files and the output is great. But, the models cannot "see" an entire project folder, and do not even try when asked.
Why does this happen? Well, the models my system can handle are significantly lower parameter models with severely limited context windows. When doing more research, I am limited to 32k token context windows when one of these models is loaded into the VRAM, with the limited VRAM left. For a larger project, there would not be enough space to fully "see" the project and execute the request. The smaller models also loose sight of larger requests that require more steps.
Something like this is better suited if I am needing autocomplete or am asking for simple changes in a couple of html and CSS files on a personal project. However, I also have a Cursor subscription of $20 per month, which allows me to use the Auto setting and get a LOT of use for the month, especially for the personal projects. And even using Auto, the parameters behind those models, and context windows are so much larger, there is really no competition.
Comparative Analysis: Cost and Performance
The computer to run this cost about $880 in total. If I had subscriptions to two cloud models, Cursor and something like Gemini, at $20 a month, that would be about 2 years worth of those models. But here is the thing, those models are drastically better than the ones that I am running, with much larger parameters, faster performance, larger context windows, and more features. For instance, even the free versions can accept screenshots, analyze them, and respond. And over the next two years, the models that get rolled out will continue to improve. For instance, Cursor's latest Composer model is great and I can get a lot of use out of it, rather than switching to the more advanced models where I get much less for my monthly subscription.
I paid $880 and I am locked in on less powerful, less functional models. However, I am not going to say it was not worth it for a few reasons.
- Privacy of data – everything that I query on the local models stays private, for me. And while that may not matter to some, and I am not querying anything outrageous, I prefer that. And I will like it when my children are old enough to start using models, they can start with local ones.
- I am a tech nerd and like to set things up like this. It was fun setting it up and it is fun interacting with models that run on my hardware.
- As hardware costs come down, an improved local machine is one GPU upgrade away.
- I imagine that opensource, local models will also improve, even the smaller ones. I will not be forever locked into these same models.
Conclusion
Am I happy I went through this process? Yes. Is it as useful and I originally thought that it would be? No. It was easier to set up the system itself and get it working, but getting the coding to work was a significantly larger challenge than I thought it would be. And in trying to get that to work, it led me down the path where I discovered how much better the cloud based models are, even for cheap, and why my local server cannot replace or even compete with even the lowest level Cursor plan.
Running a local model can be great if you are an enthusiast that wants to set something like this up, and if you have the right expectations about what you want to get out of it. I think something like this is best used in combination with other cloud based AI models. If you have basic needs, a cloud based model for cheap is probably best. If you have really advanced needs, a cloud based model would be best. Building a specific AI server with consumer parts is for someone that is an enthusiast.